|
Size: 1246
Comment:
|
Size: 1483
Comment:
|
| Deletions are marked like this. | Additions are marked like this. |
| Line 2: | Line 2: |
| 1. Double-click the Cisco !AnyConnect Secure Mobility Client application, which can be found in the Cisco folder within the main Applications folder: | |
| Line 3: | Line 4: |
| 1. Double-click the Cisco !AnyConnect Secure Mobility Client application, which can be found in the Cisco folder within the main Applications folder: | {{attachment:001-client-icon.png|VPN Client Icon|width="400"}} |
| Line 5: | Line 6: |
| {{attachment:001-client-icon.png|VPN Client Icon|width=400}} | 2. The Oxford VPN should be pre-populated in the connection window. Click the Connect button to start the connection: |
| Line 7: | Line 8: |
| {{attachment:002-ready-to-connect.png|Ready to Connect|width="400"}} | |
| Line 8: | Line 10: |
| 3. You will need to enter your SSO username and password and go through the standard authentication process | |
| Line 9: | Line 12: |
| 2. The Oxford VPN should be pre-populated in the connection window. Click the Connect button to start the connection: | '''* Please Note - Logging into the new Cisco !AnyConnect Client on your Orchard macOS device before mid-morning on 26 April, will mean you still need to use your Remote Access account to authenticate.''' |
| Line 11: | Line 14: |
| {{attachment:002-ready-to-connect.png|Ready to Connect|width=400}} | {{attachment:003-SSO-01.png|Ready to Connect|width="400"}} |
| Line 13: | Line 16: |
| {{attachment:004-SSO-02.png|Ready to Connect|width="400"}} | |
| Line 14: | Line 18: |
| 3. You will need to enter your SSO username and password and go through the standard authentication process: | 4. When you have successfully connected to the VPN a notification will appear. In the menu bar you can also see the Cisco !AnyConnect VPN icon with a lock: |
| Line 16: | Line 20: |
| {{attachment:003-SSO-01.png|Ready to Connect|width=400}} | {{attachment:005-connection-notification.png|Connection Notification|width="400"}} |
| Line 18: | Line 22: |
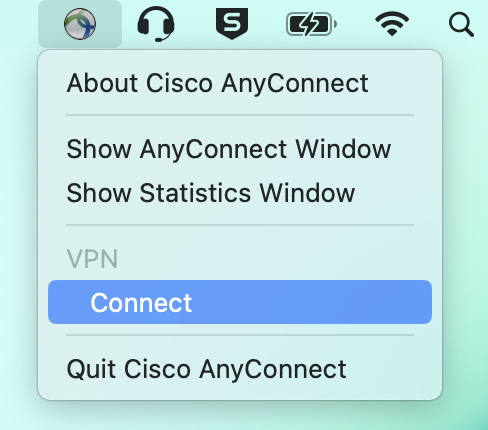
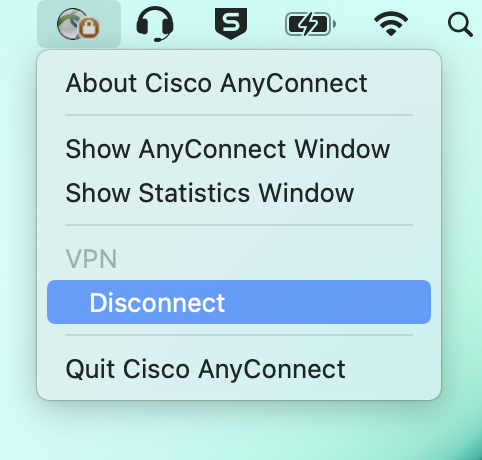
| {{attachment:004-SSO-02.png|Ready to Connect|width=400}} | 5. To disconnect from the VPN click the Cisco !AnyConnect VPN icon in the menu bar and choose Disconnect: |
| Line 20: | Line 24: |
| {{attachment:006-disconnect.png|Disconnect|width="400"}} | |
| Line 21: | Line 26: |
| 4. When you have successfully connected to the VPN a notification will appear. In the menu bar you can also see the Cisco !AnyConnect VPN icon with a lock: | 6. To reconnect click the Cisco !AnyConnect VPN icon in the menu bar and choose Connect: |
| Line 23: | Line 28: |
| {{attachment:005-connection-notification.png|Connection Notification|width=400}} 5. To disconnect from the VPN click the Cisco !AnyConnect VPN icon in the menu bar and choose Disconnect: {{attachment:006-disconnect.png|Disconnect|width=400}} 6. To reconnect click the Cisco !AnyConnect VPN icon in the menu bar and choose Connect: {{attachment:007-reconnect.png|Reconnect|width=400}} |
{{attachment:007-reconnect.png|Reconnect|width="400"}} |
Connecting to the Oxford VPN
1. Double-click the Cisco AnyConnect Secure Mobility Client application, which can be found in the Cisco folder within the main Applications folder:
![]()
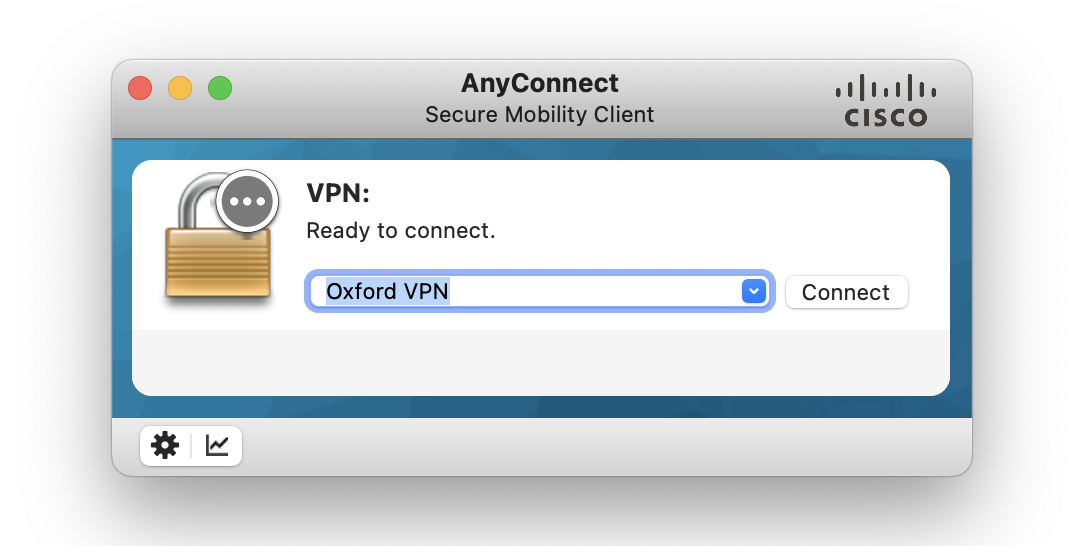
2. The Oxford VPN should be pre-populated in the connection window. Click the Connect button to start the connection:
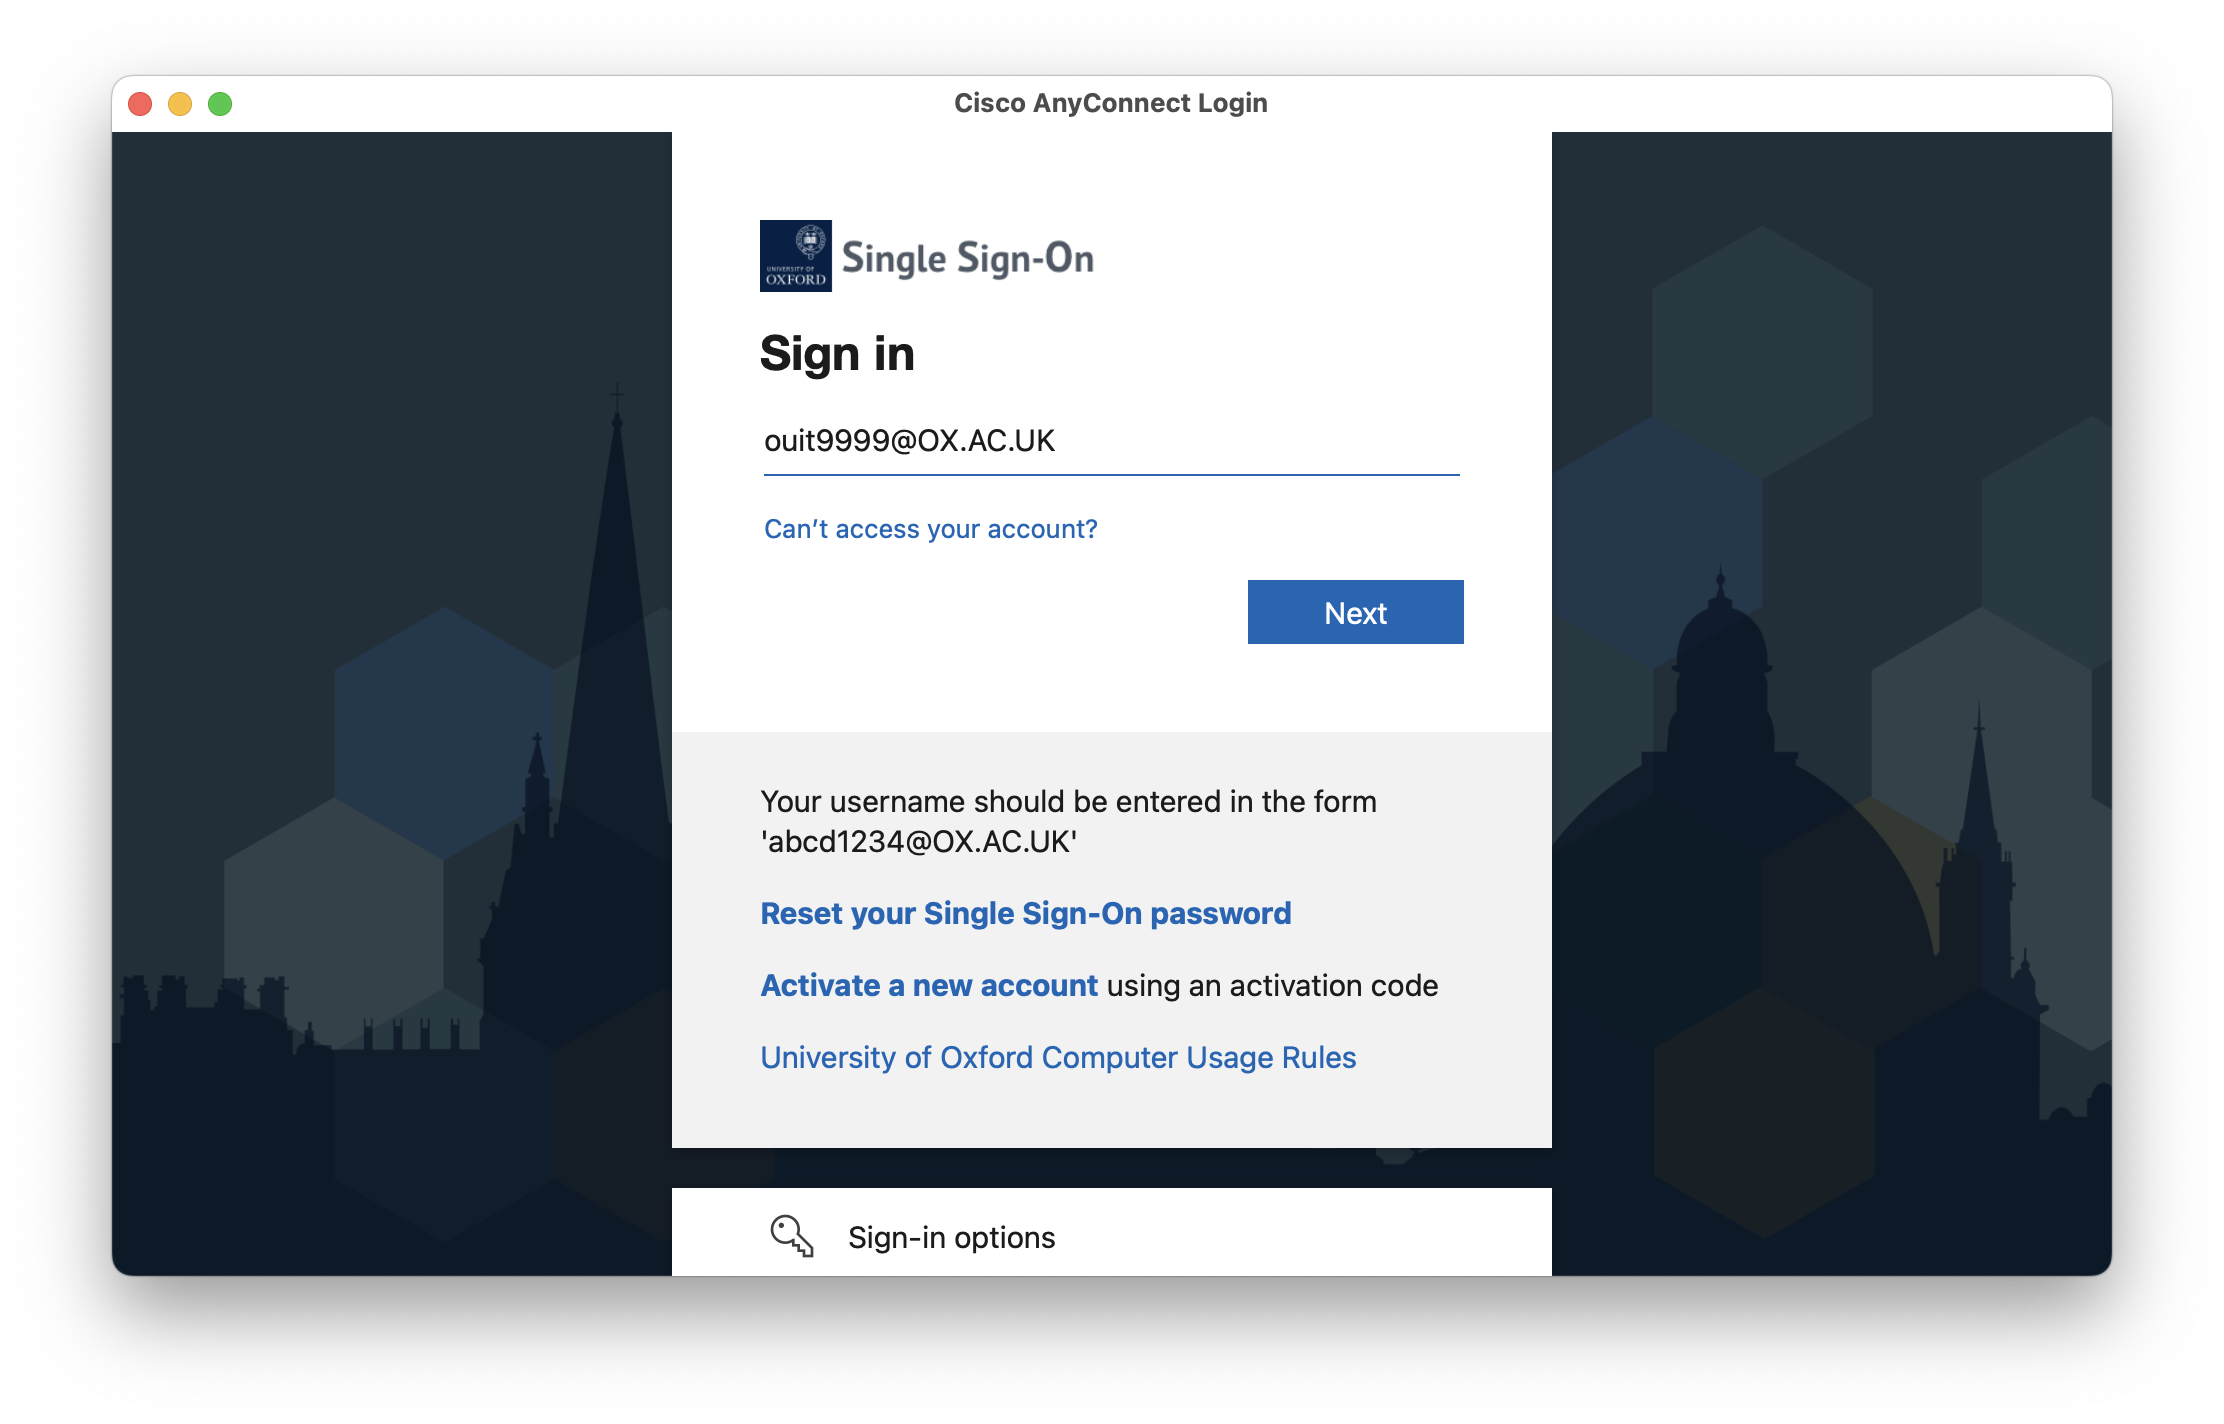
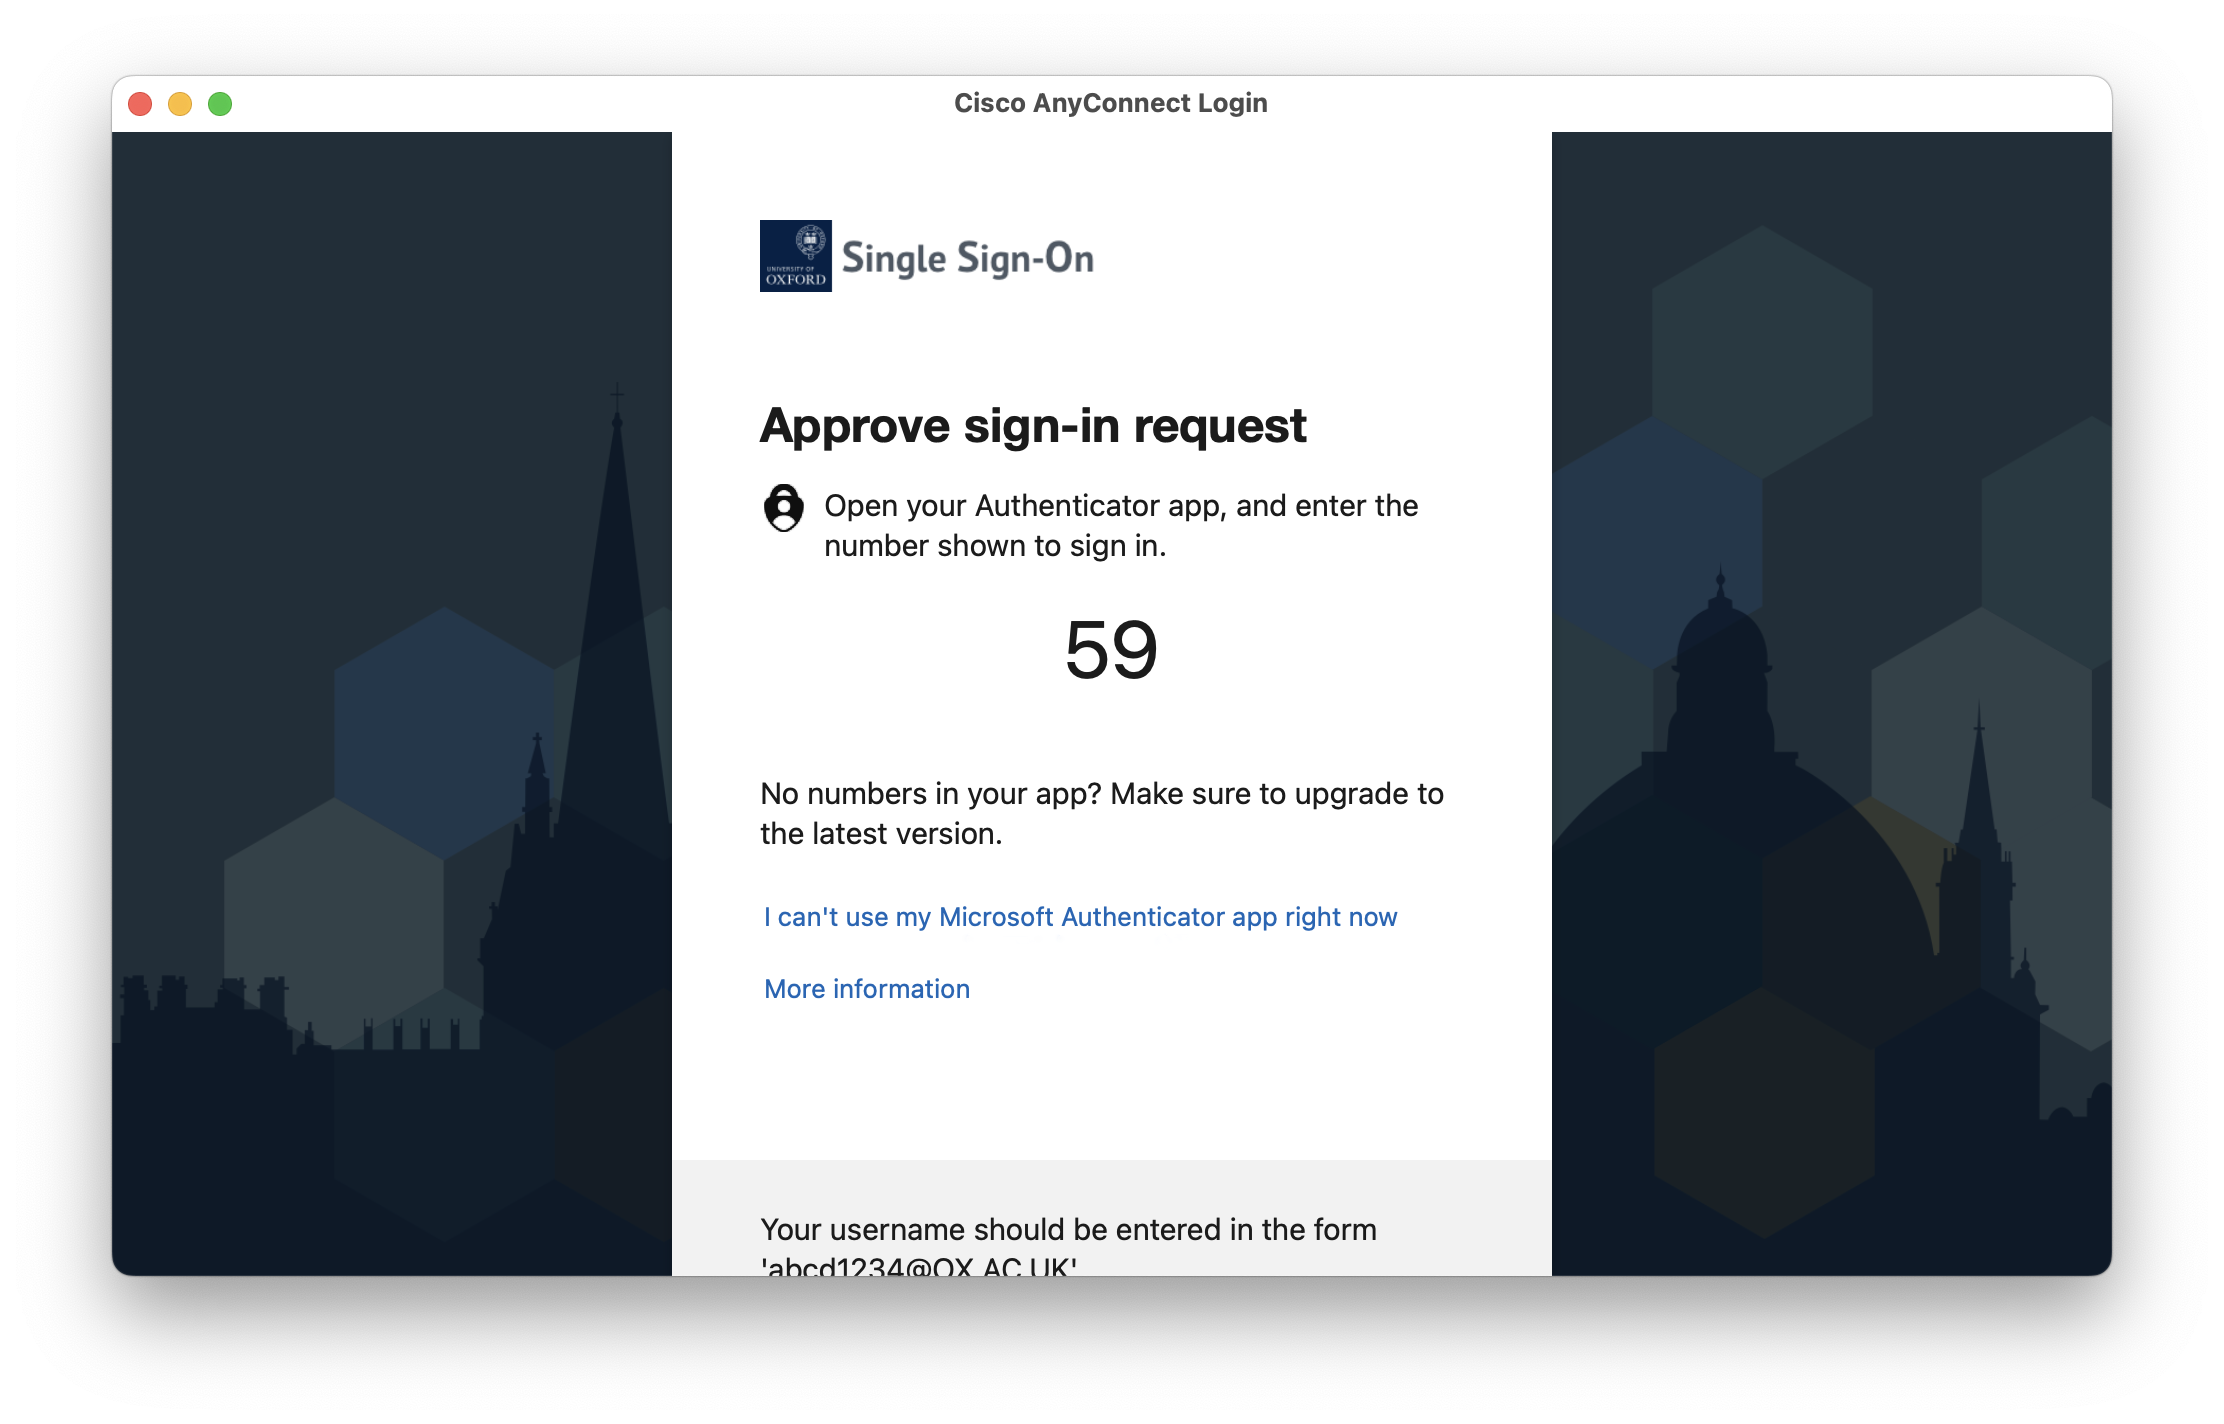
3. You will need to enter your SSO username and password and go through the standard authentication process
* Please Note - Logging into the new Cisco AnyConnect Client on your Orchard macOS device before mid-morning on 26 April, will mean you still need to use your Remote Access account to authenticate.
4. When you have successfully connected to the VPN a notification will appear. In the menu bar you can also see the Cisco AnyConnect VPN icon with a lock:

5. To disconnect from the VPN click the Cisco AnyConnect VPN icon in the menu bar and choose Disconnect:
6. To reconnect click the Cisco AnyConnect VPN icon in the menu bar and choose Connect:
