Getting started with Remote Desktop on Mac
You can use the Microsoft Remote Desktop client for Mac to work with Windows apps, resources, and desktops from your Mac computer. Go to the Utilities category on the Orchard Software Centre to download and install.
Microsoft Remote Desktop
For users of Microsoft Remote Desktop Version 8, there is a simple way of exporting rdp connections out of this version to the supported version 10
- In the old version (shown below) highlight the connections you want to migration
- Right click, then export, preferably to a familiar location and close the old version of Remote Desktop
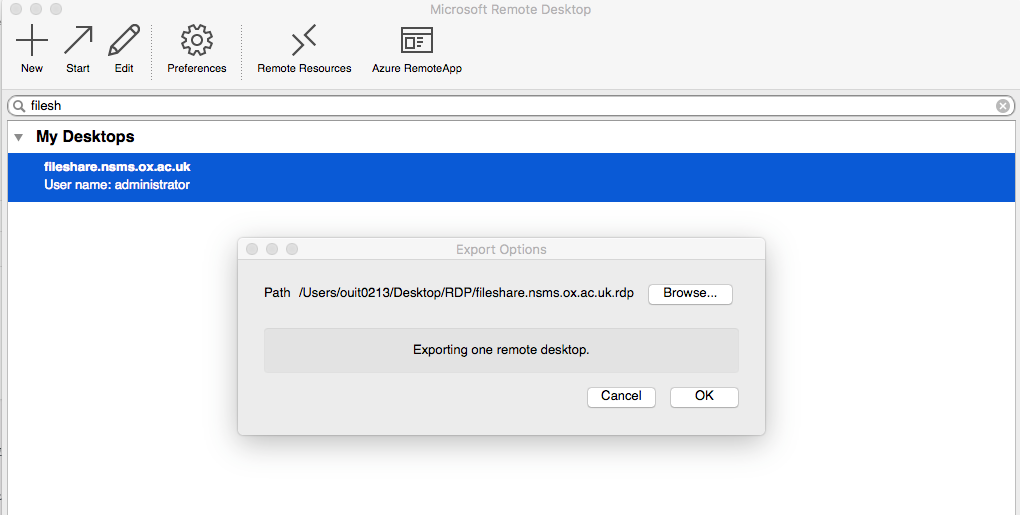
- Open Remote Desktop Version 10
- Select Connections from the file menu, Import Desktops and point the finder window to the previously exported rdp files
Connect Remote Desktop Service
The Connect Remote Desktop Service is available for all users with a connect account. However, please ensure you have requested access via the central Service Desk as it needs to be enabled per user. Connection is only possible via the Oxford network, so please ensure you are connected to the Oxford VPN. https://help.it.ox.ac.uk/configuring-vpn-clients-on-macos
Once you are ready to connect, browse to the help.it pages for the latest gateway link and download;
https://help.it.ox.ac.uk/connect-to-remote-desktop-service#tab-2203076
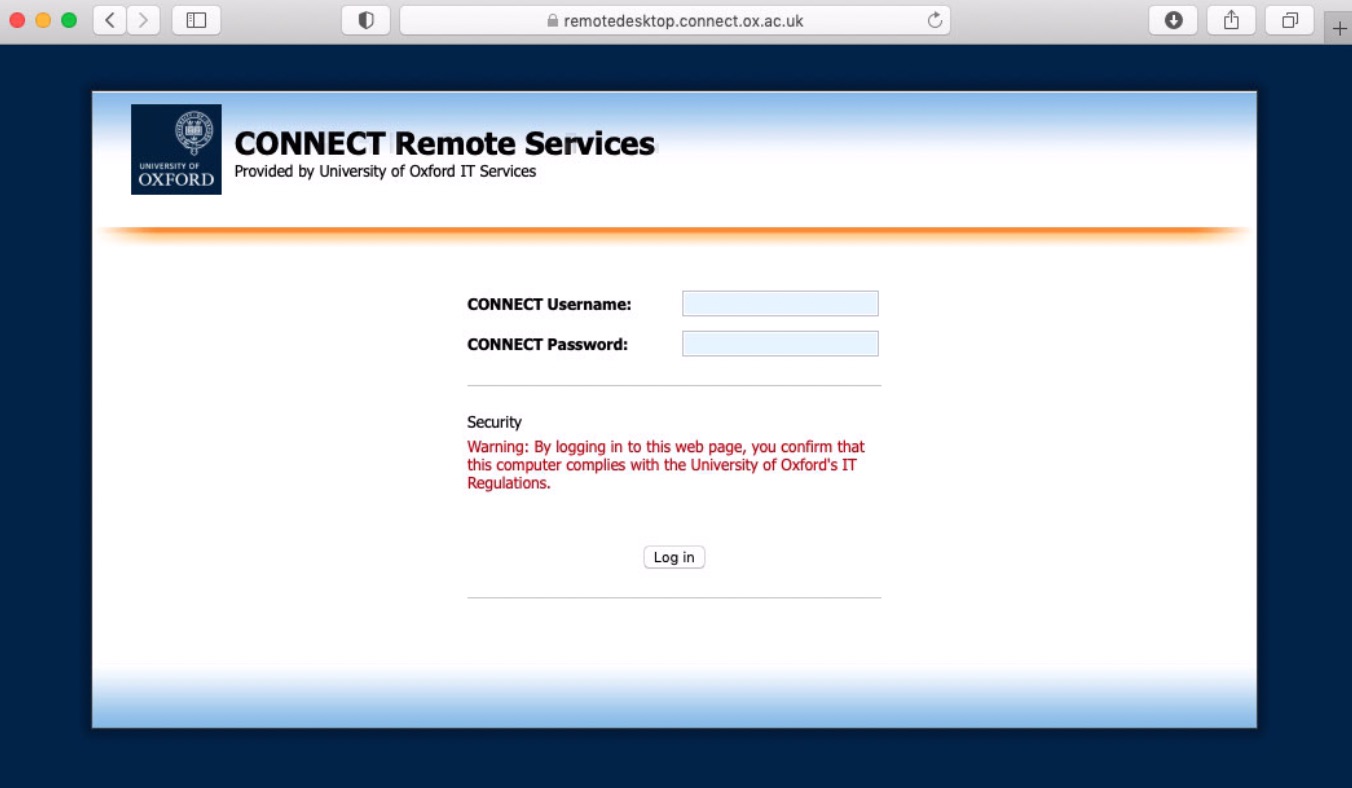
Enter your connect credentials
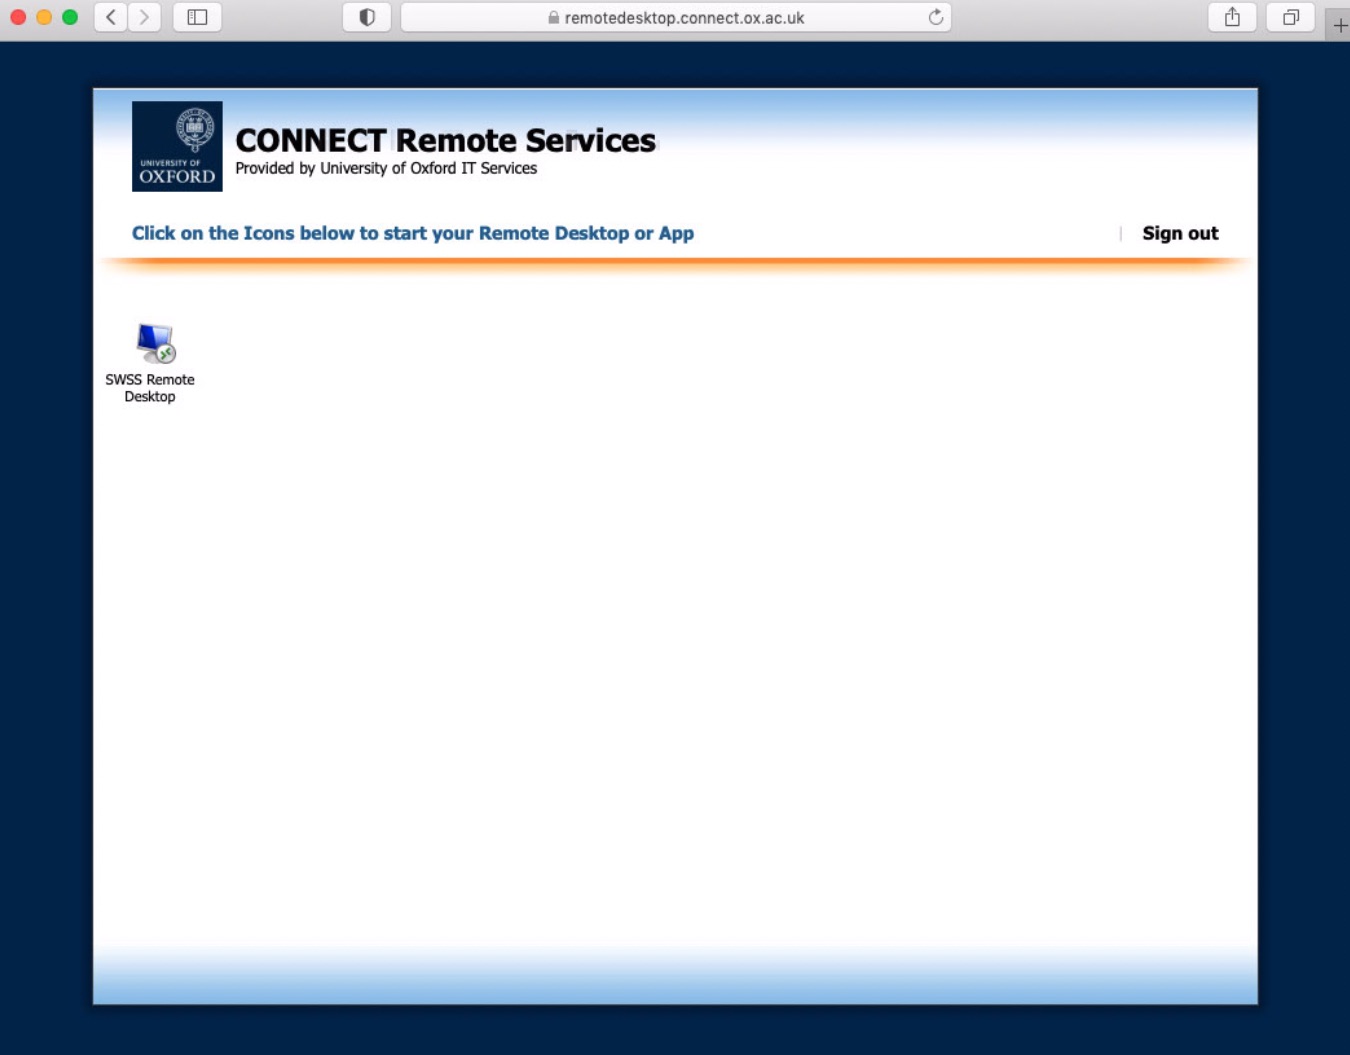
You can either double-click on the downloaded connection to launch or drag the icon into Microsoft Remote Desktop PC's to save and configure further options.
Enter your connect credentials again
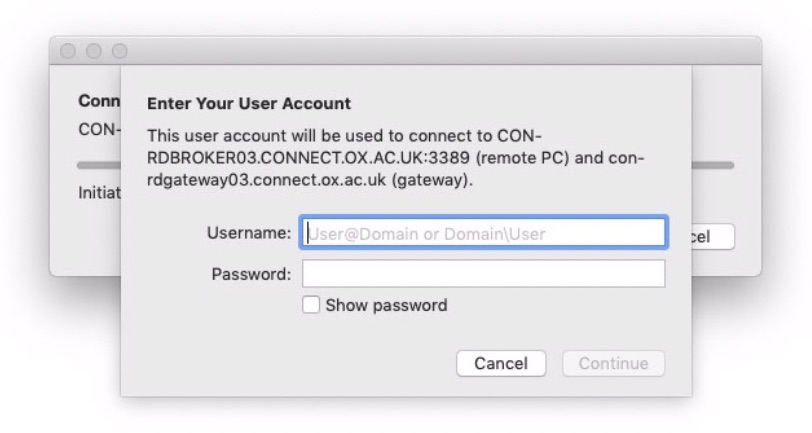
You should now be faced with a Windows login
Troubleshooting Connect Remote Desktop Service
- Please ensure that the operating is a current supported macOS such as 10.15.7 Catalina
- If you have a PC with an incorrect saved password, launch Keychain Access, search for the entry remotedesktop.connect.ox.ac.uk and then delete. It will now prompt for new credentials.
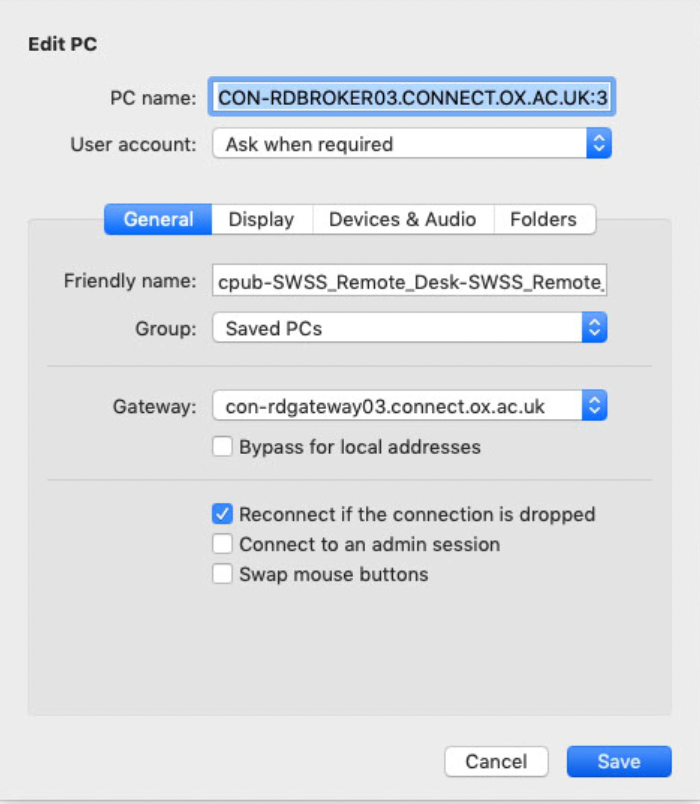
- This is an example entry for the connect desktop
How to add a Remote Desktop connection
To create a remote desktop connection:
- In the Connection Center, click +, and then Add PC.
Enter the following information
PC name - the name of the computer. This can be a Windows computer name (found in the System settings) a domain pc name, an IP address if known. You can also add port information to the end of this name, like MyDesktop:3389.
User Account - Add the user account you use to access the remote PC. Use one of these formats: user_name, domain\user_name, or user_name@domain.com. You can also choose whether to require a password. When managing multiple user accounts with the same password, set a friendly name to differentiate the accounts. Manage your saved user accounts in the preferences of the app.
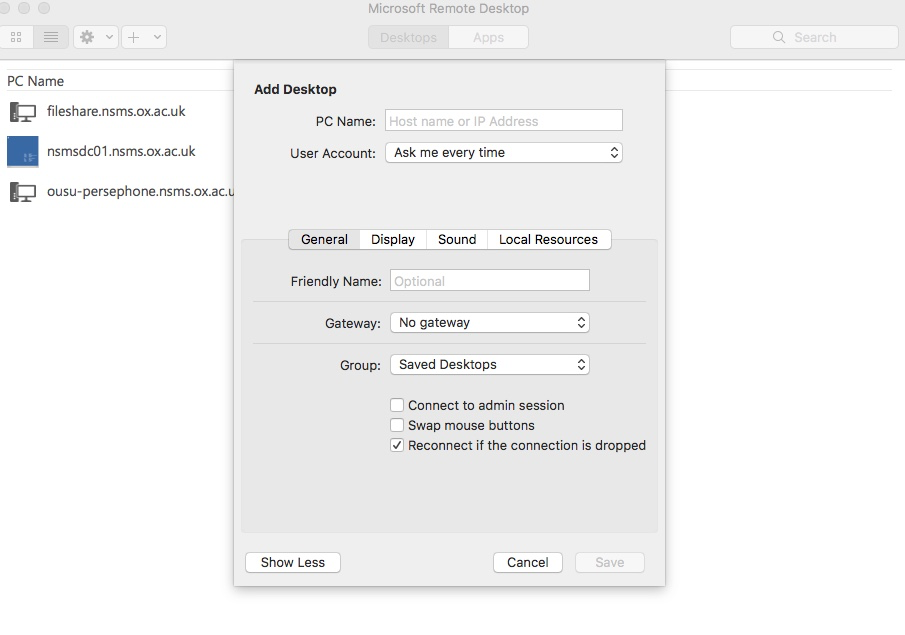
You can also set a whole host of optional settings for the connection including:
- Set a friendly name
- Add a Gateway
- Set the sound output
- Swap mouse buttons
- Click Save.
To start the connection, just double-click it. The same is true for remote resources.
Export and import connections
You can export a remote desktop connection definition and use it on a different device. Remote desktops are saved as separate .RDP files
- In the Connection Center, right-click the remote desktop.
- Click Export.
- Browse to the location where you want to save the remote desktop .RDP file.
- Click OK.
Use the following steps to import a remote desktop .RDP file.
In the menu bar, click File > Import.
- Browse to the .RDP file.
- Click Open.
Manage your user accounts
When connecting to a remote desktop , you can save the user accounts to select in future. You can manage your user accounts by using the Remote Desktop client.
To create a new user account:
- Click the settings cog
- Select Preferences
- Select the tab for User Accounts
- Use the + or - keys to add or remove a saved user account
Customise your display resolution
You can specify the display resolution for the remote desktop session.
- Click the settings cog
- Select Preferences
- Select the tab for Resolution
- Select relevant size or make one up by adding + or -
Use a keyboard in a remote session
The standard Mac keyboard layout differs from the Windows keyboard layout.
- The Command key on the Mac keyboard equals the Windows key
- To perform actions that use the Command button on the Mac, you will need to use the control button in Windows (e.g.: Copy = Ctrl + C)
- The function keys can be activated in the session by pressing additionally the FN key (e.g.: FN + F1)
- The Alt key to the right of the space bar on the Mac keyboard equals the Alt Gr/right Alt key in Windows
By default, the remote session will use the same keyboard locale as the OS you're running the client on.