|
Size: 1882
Comment:
|
Size: 1908
Comment:
|
| Deletions are marked like this. | Additions are marked like this. |
| Line 2: | Line 2: |
| 1. The Cisco !AnyConnect 4 VPN Client (Cisco !AnyConnect Secure Mobility Client) is installed via Orchard Self Service. To start the installation process double-click the Self Service application in the Applications folder: | |
| Line 3: | Line 4: |
| 1. The Cisco AnyConnect 4 VPN Client (Cisco AnyConnect Secure Mobility Client) is installed via Orchard Self Service. To start the installation process double-click the Self Service application in the Applications folder: | {{attachment:001-self-service.png|Self Service Application|width="300"}} |
| Line 5: | Line 6: |
| {{attachment:001-self-service.png|Self Service Application|width=300}} | |
| Line 7: | Line 7: |
| 2. The installer for Cisco AnyConnect 4 VPN can be found on the main page, click the Install button to begin: | 2. The installer for Cisco !AnyConnect 4 VPN can be found on the main page, click the Install button to begin: |
| Line 9: | Line 9: |
| {{attachment:002-install.png|Install|width=300}} | {{attachment:002-install.png|Install|width="300"}} |
| Line 12: | Line 13: |
| The Cisco AnyConnect VPN Client is not compatible with iCloud Private Relay. Installing the VPN client will disable Private Relay. During the installation process, if you have iCloud Private Relay enabled, you will see this message: | The Cisco !AnyConnect VPN Client is not compatible with iCloud Private Relay. Installing the VPN client will disable Private Relay. During the installation process, if you have iCloud Private Relay enabled, you will see this message: |
| Line 14: | Line 15: |
| {{attachment:003b-private-relay-notification.png|Private Relay Notification|width=500}} | {{attachment:003b-private-relay-notification.png|Private Relay Notification|width="500"}} |
| Line 16: | Line 17: |
| Private Relay will not be available again unless the Cisco AnyConnect VPN client is uninstalled. | Private Relay will not be available again unless the Cisco !AnyConnect VPN client is uninstalled. |
| Line 18: | Line 20: |
| Line 21: | Line 22: |
| {{attachment:003-install-message.png|Install Message|width=600}} | {{attachment:003-install-message.png|Install Message|width="600"}} |
| Line 25: | Line 27: |
| {{attachment:004-socket-filter.png|Socket Filter|width=400}} | {{attachment:004-socket-filter.png|Socket Filter|width="400"}} |
| Line 27: | Line 29: |
| Please click the Allow button; the Cisco AnyConnect Socket Filter is required to enable the Cisco AnyConnect VPN client to function correctly. | Please click the Allow button; the Cisco !AnyConnect Socket Filter is required to enable the Cisco AnyConnect VPN client to function correctly. |
| Line 31: | Line 33: |
| {{attachment:005-managed-login-items.png|Managed Login Items|width=400}} | {{attachment:005-managed-login-items.png|Managed Login Items|width="400"}} |
| Line 33: | Line 36: |
| 5. Once the installation has completed you can find the VPN client (Cisco AnyConnect Secure Mobility Client) in the Cisco folder within the Applications folder: | 5. Once the installation has completed you can find the VPN client (Cisco !AnyConnect Secure Mobility Client) in the Cisco folder within the Applications folder: |
| Line 35: | Line 38: |
| {{attachment:006-client-icon.png|VPN Client Icon|width=400}} | {{attachment:006-client-icon.png|VPN Client Icon|width="400"}} |
Cisco AnyConnect VPN Client Installation
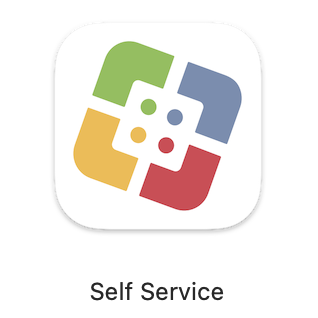
1. The Cisco AnyConnect 4 VPN Client (Cisco AnyConnect Secure Mobility Client) is installed via Orchard Self Service. To start the installation process double-click the Self Service application in the Applications folder:

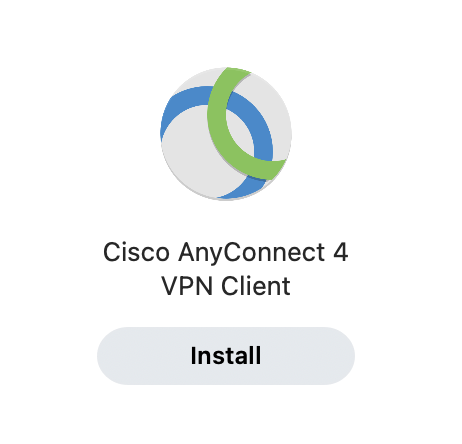
2. The installer for Cisco AnyConnect 4 VPN can be found on the main page, click the Install button to begin:

Regarding iCloud Private Relay
The Cisco AnyConnect VPN Client is not compatible with iCloud Private Relay. Installing the VPN client will disable Private Relay. During the installation process, if you have iCloud Private Relay enabled, you will see this message:

Private Relay will not be available again unless the Cisco AnyConnect VPN client is uninstalled.
3. Read through the guidance notes then click the Install button:

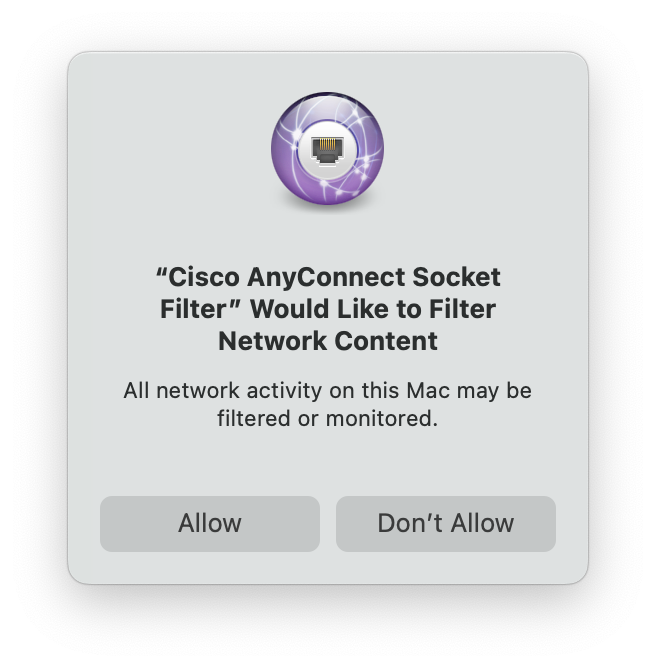
4. During the installation you will see this message:

Please click the Allow button; the Cisco AnyConnect Socket Filter is required to enable the Cisco AnyConnect VPN client to function correctly.
Depending upon your macOS version you may receive a notification regarding Managed Login Items, this is just to let you know a new service has been added to your Mac:

5. Once the installation has completed you can find the VPN client (Cisco AnyConnect Secure Mobility Client) in the Cisco folder within the Applications folder:
![]()

